Social media and profile photos
Make a photo square without cropping it
Quick answer: a landscape or portrait photo does not fit a square, so something has to give: either the edges are cut off or empty bands are added. To keep the whole picture, fit it into a square with padding. Open the resizer with the square-fit preset, choose your photo, keep the mode “Exact area with padding”, pick a background colour and download the result. It runs in your browser; your photo is not uploaded to Refentra.
Files are processed locally.
On this page
Why photos get cut off
Many places show pictures in a square or a circle: profile photos, product thumbnails, grid previews. A 3:2 landscape photo is wider than it is tall, so a square can only show part of it. Platforms usually cut the sides away automatically and often decide for you what stays. Padding avoids that: the whole photo is scaled down until it fits, and the rest of the square is filled with a colour you choose.
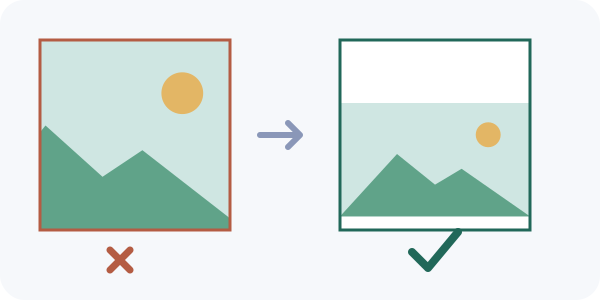
That is the recorded result for the tool’s own sample: the picture area is centred with empty bands above and below. Try it with the sample photo and compare with the recorded result.
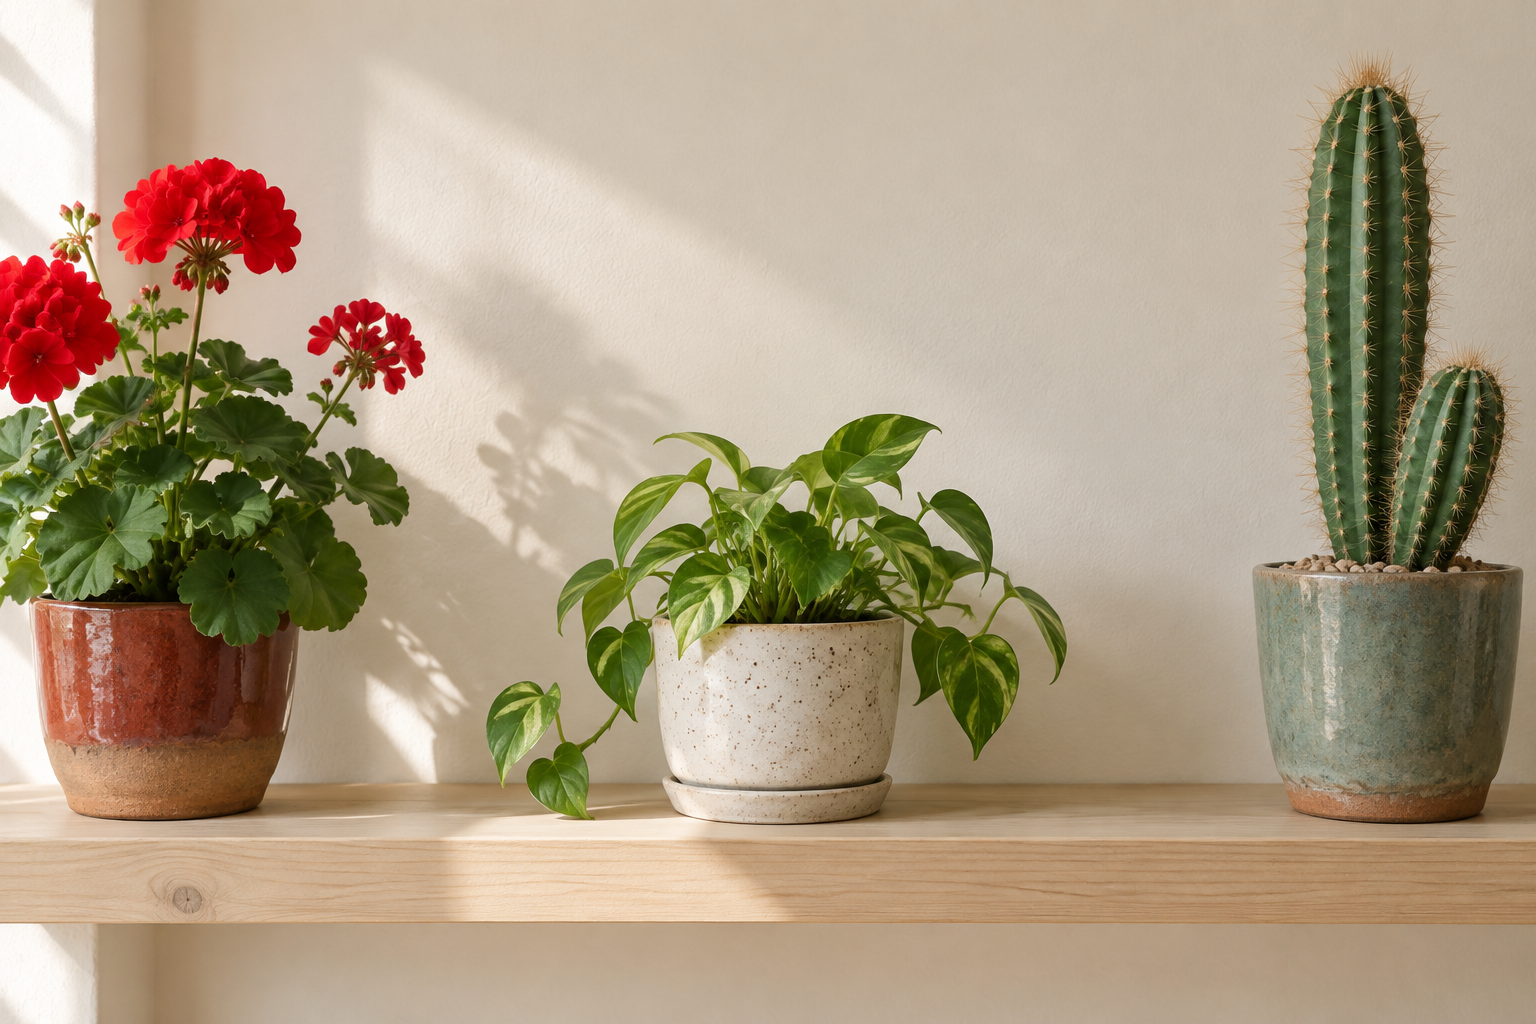
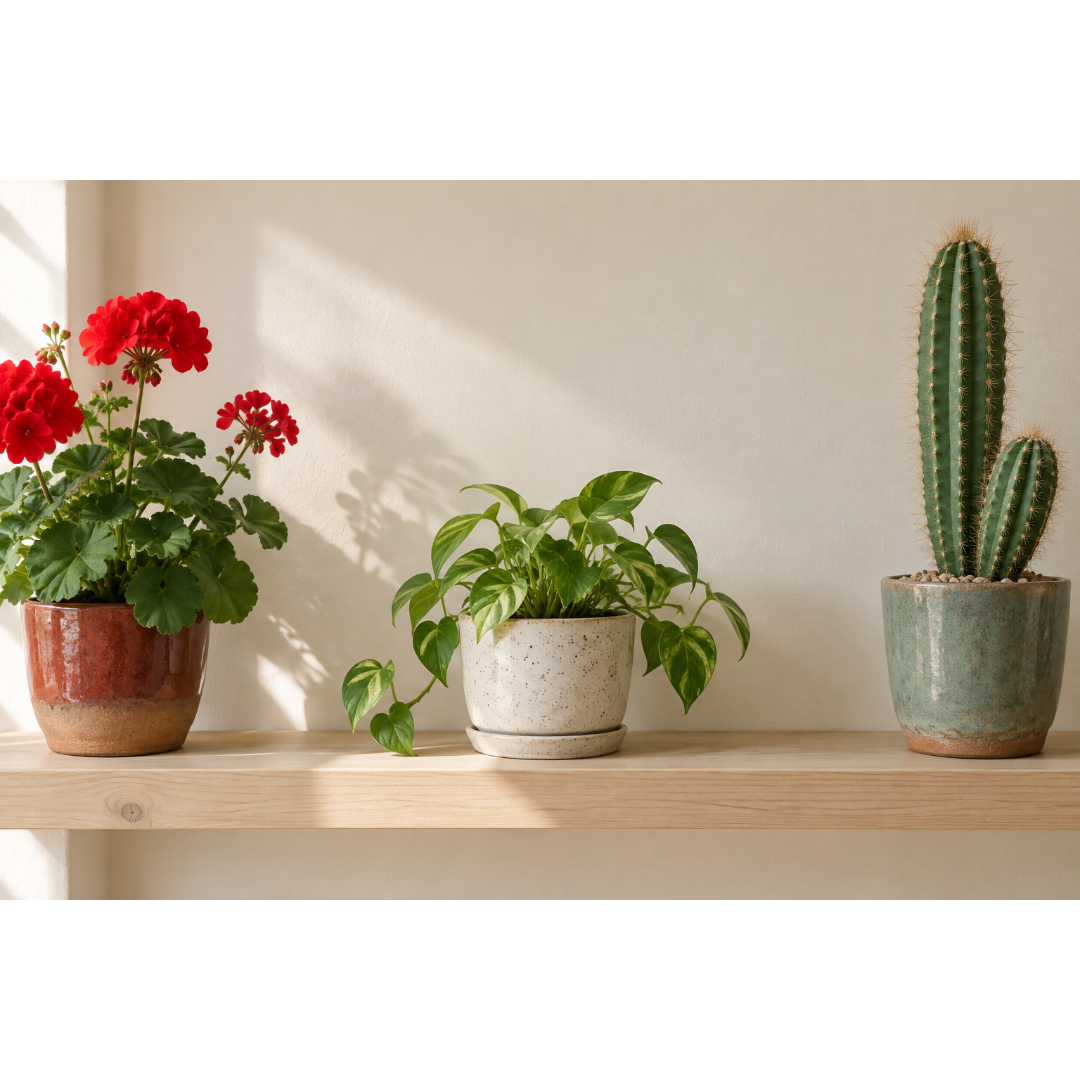
Fit a photo into a square: five steps
- Open the resizer with the square-fit preset. The square output “Square · 1080 × 1080 (link preset)” is already selected.
- Choose one JPG, PNG or WebP photo (up to 25 MiB).
- Check the mode on the output card. Select “Exact area with padding” to keep the whole picture. “Crop to fill” would cut the edges instead.
- Pick the “Background color”. White suits light photos and galleries, black suits dark or dramatic ones, a brand or page colour looks most deliberate. For a JPEG result, confirm the colour with “Use selected background”.
- Select “Create selected formats” and check the preview, then use “Download this image”. Look at the full-size image before you post it.
Padding or cropping: which one?
- Use padding when everything in the picture matters: product photos, screenshots, artwork, group photos, anything with text near the edges.
- Use cropping with a focus point when the subject is small and the sides are empty (a face in a portrait, for example). The tool lets you move the focus so the crop stays on the subject.
- Profile photos are often shown in a circle. Whatever you choose, keep the important part near the centre and check the platform’s own preview.
Limits to know
- A correct pixel size does not guarantee how a platform later crops or overlays your picture. Check its publishing preview.
- The padding is part of the picture. If the background colour clashes with the page or app, choose a different colour or use cropping.
- The tool never enlarges a small photo silently. If the image is smaller than the output, you are asked to allow enlargement, which makes it softer, not sharper.
- For a different shape, such as 4:5 or 16:9, pick another output size in the same tool.
Sources and method
Steps, labels, sizes and limits were checked against the current Refentra social-media resizer and its recorded example (1536 × 1024 px source). The tool states that a correct pixel size does not guarantee how a platform treats the picture; Refentra does not describe individual platforms’ rules here. This guide was drafted and edited with AI assistance.