Website speed
PageSpeed warns about images? How to fix “Properly size images” and “Efficiently encode images”
Quick answer: these warnings mean your images are heavier than the page needs: they have more pixels than are shown, or they are saved at a higher file weight than their quality justifies. The fix is the same for both. Find the flagged images, resize them to the size they are actually displayed, compress them or convert them to WebP, upload the new files and test again. Everything runs in your browser; your images are not uploaded to Refentra.
Files are processed locally.
On this page
What the two warnings mean
- Properly size images
- Compares the size an image is shown at with its real pixel size, taking the device’s pixel density into account. The image fails if it could be at least 4 KiB smaller.
- Efficiently encode images
- Looks at JPEG and BMP files and tests what compressing them at quality 85 would save. Flagged from 4 KiB of potential savings.
- Newer Lighthouse versions
- Since Lighthouse 13 these checks are part of the “Improve image delivery” insight. The advice stays the same.
Sources: Chrome for Developers, Properly size images and Efficiently encode images, checked 5 October 2026. Refentra is not affiliated with Google.
Fix it in six steps
- Read the report. Note which images are flagged and how many KiB each could save. Start with the largest.
- Find the displayed size. Open your page, right-click the image, choose Inspect and hover over the image tag: the browser shows the rendered size next to the intrinsic (real) size.
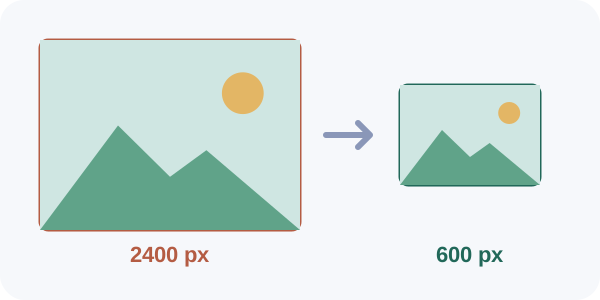
- Choose a target width. Take the displayed width times the pixel density you want to serve, which is often 2 for sharp results on high-density screens. A picture shown 600 px wide needs about 1200 px, not 4000.
- Resize the original. Open the resize tool, enter that width as the maximum, keep “fit within” and “prevent upscaling”, and download the copy.
- Make the file lighter. Use the target-size compressor to set a maximum file size, or convert it to WebP for photos and graphics. Check the result at full size.
- Upload, clear the cache and test again. Replace the images, clear any caching plugin or CDN cache and run PageSpeed Insights again.
If you use a website builder, shop or CMS
- Many platforms create several sizes from one upload and let the browser choose (srcset). If your theme still loads the full-size file, check the theme’s image-size setting or the block’s size option.
- Uploading a 6000 px camera photo to a 600 px slot is the most common cause. Resize before uploading.
- Logos and icons drawn from shapes are better as SVG. See JPG, PNG or WebP: which format.
What this will not do
- The tools prepare your files; they cannot change your site’s HTML or theme. Whether a page serves the right size depends on your setup.
- PageSpeed numbers are lab measurements and change between runs. Judge the trend and the flagged KiB, not a single score.
- Other items in the report (render-blocking scripts, fonts, server speed) are outside this guide.
Sources and method
The audit descriptions and thresholds come from the two linked Chrome documentation pages, checked on 5 October 2026; Google may change them. Refentra tool steps and labels were checked against the current tools. This guide was drafted and edited with AI assistance.